|
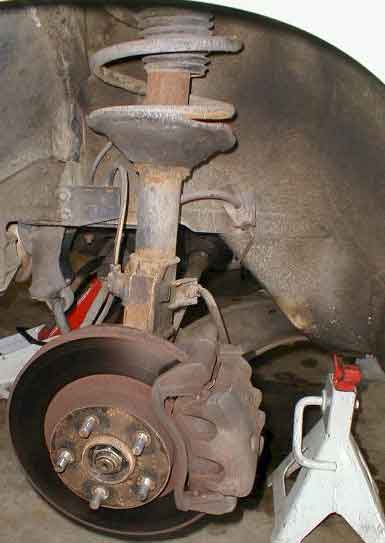
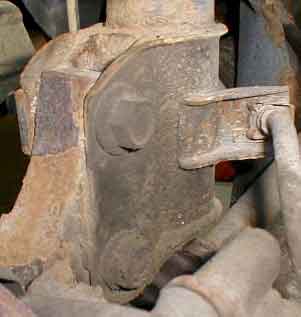
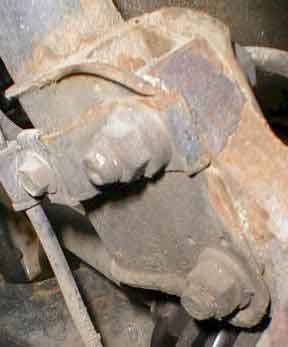
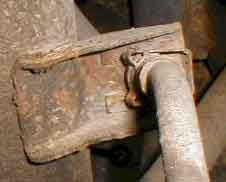
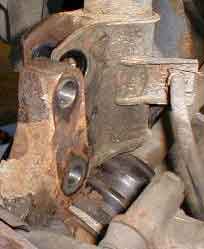
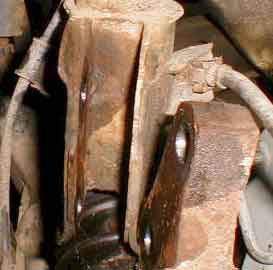
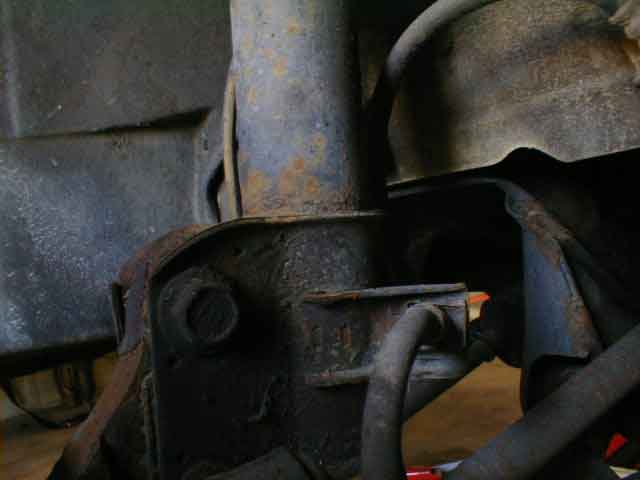
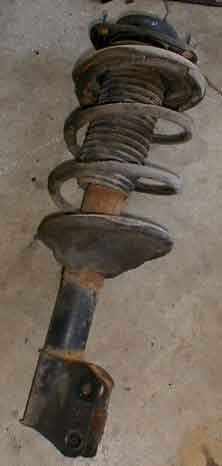
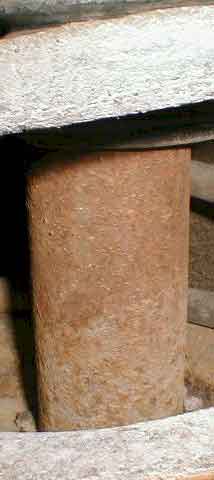
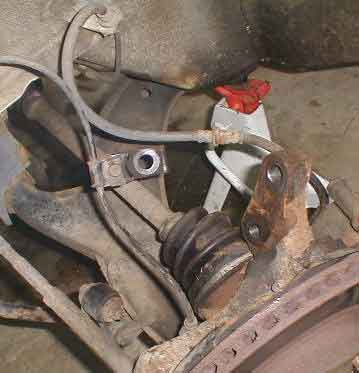
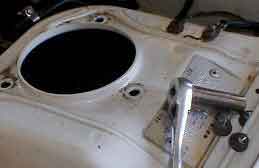
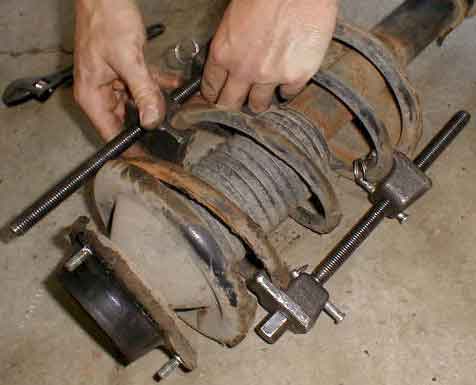
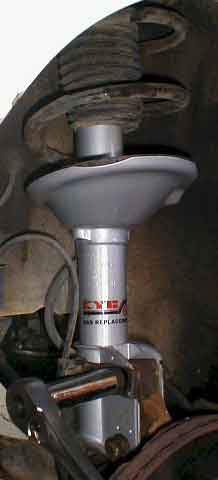
Installing the KYB GR2 Strut in a 93 Legacy Wagon. By Dave Replacing worn stuts is a pain, both ways you do it. If you've got the tools and an extra hand it can take from 2-4+ hours, depending on how good your tools are and how helpful the other person(s) are. The alternative is to have a shop do it. That hurts the pocketbook more than anything. This particular Saturday i had nothing but manual tools, a decent spring compressor and a helpful brother. It took us four hours but we got it done, and that's all that matters. I also replaced the same struts on my 90, and it took just a little bit longer... First off you must have the right tools. At least one ratchet and one non-ratcheting driver. One bar to add leverage to those bars, one can of WD40, one screwdriver and either a Dremel with a cutting blade or a hacksaw. 11, 12, 17 and 19mm sockets are also required, as you don't want to round them off with SAE sizes. For the rear, a 19mm open-ended wrench is needed, as sockets are too large to fit. A pair of pliers, Vice-Grips and rubber mallet will come in handy too. If you got both front and rear struts, the taller ones are for the rear and the shorter ones are for the front. Before jacking up the car, loosen the nut on the top of the strut assembly. This is almost impossible to remove once the strut is removed from the car. The same goes for reassembly. Tighten the same nut when it's installed in the car rather than just after assembly. After jacking up the front and installing jack stands to keep everything solid, remove the top, then the bottom bolts that attach the strut to the spindle. These are 19mm and will likely not come loose without much effort, as they've probably not been removed or adjusted since the car was put together. The top bolt will be cammed to adjust camber. Look closely at the bolt end for some markings on it's face. Make note of these markings and their angle so you can install them as close as possible to where it was before. Apply WD40 where necessary, it's a lifesaver. After removing these bolts, take your pliers and remove the retaining clip on the brake-line then proceed to cut through the mount, carefully of course, till you can use the pliers and bend it away. Up top you should use your 17mm socket to loosen but not remove the center nut on the piston. Use a 12mm socket to remove the three nuts on top and then simply slide the strut assembly out. Now we're getting to the fun stuff, compressing springs. Take whatever compressor type you've got and compress the springs till it moves around inside the strut assembly. At this time, remove the top nut and everything should come apart. One note here, the piston might spin when removing the nut. Use a pair of Vice-Grips to keep it from spinning. Switch over the bumpstop and cover first, we forgot this twice, then reassemble. Make note of where the spring top sits. There should be a noticeable depression in the rubber to show where it was. Line it back up and assemble. Make sure that the bottom spring end rests securely in it's corner, then decompress. Since the new struts come with new and larger diameter nuts, you'll have to use them. Tighten the nut as much as possible till the piston starts to turn. When the strut is installed and has weight on it, it can then be tightened more. Reinstall the strut, keeping in mind that the cammed bolt goes on the top. I did not disassemble the brake line and run it through the retainer because i couldn't figure out how to take it apart. The rear is similar to the front, but the angle of the bottom bolts prevents using sockets on the nuts. Here's where a 19mm open-ended wrench comes in handy. On the sedan, you'll have to remove the rear seat to access the top nuts. On a wagon, pry up the speaker cover to gain access to same nuts. On the top of the rear strut there will be a plate with several notches. Make note of how these notches correspond to the strut bottom and reassemble as close to this as possible. Since the rears have no bearings and do not turn, the closer this is, the better. The difference in driving around is amazing. These struts weren't as bad as those i replaced in the 90, but they needed replacement nonetheless. So far i'm very pleased with the results. As usual, i'll be getting an alignment very soon to make sure everything is pointing in the right direction. On with the pictures! Wheel off Bottom Bolts Bottom Nuts Brake Line |
