|
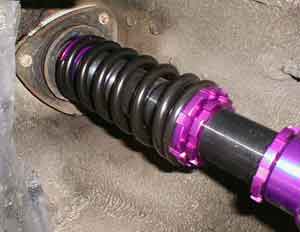
D2 Coilover Install By Dave Clements (4/13/01) OK, now for assembly. With the top mount off and the worst of the grime scraped off, I proceeded to try and figure out where this bearing would go in the grand scheme of things. Since the front mounts have bearings because the whole assembly rotates when the wheels are turned, it seemed reasonable that the T-shaped bearing should fir underneath the mount, inverted. Its smaller bottom fit nice and snug into the bearing hole without problem. (it turns out that this part a indeed supposed to be on the top while a washer was to fit between the top hat and top mount bearing) The heavy part of it would be carrying the weight. Now to figure out the overall height.
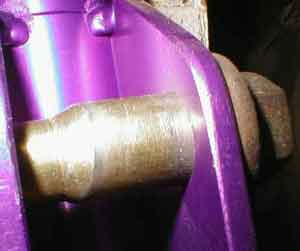
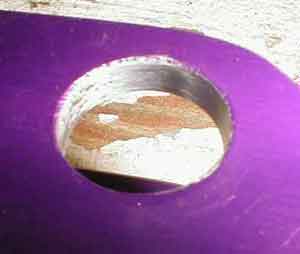
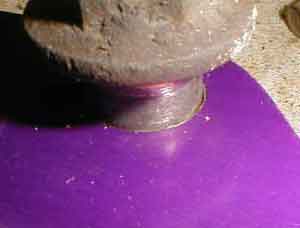
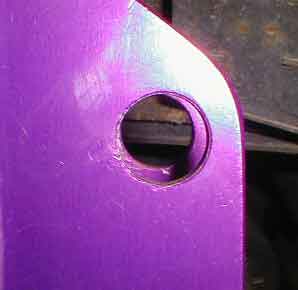
After installing and assembling the strut, I needed to figure out how tall it should be. Upon a test install, it was apparent that it needed to be much longer and we settled on an even 18 inches from the bottom of the top hat, to the end of the bottom mount. The reasoning was that the adjustability on the front was very easy, and if it were too low, it could be easily changed. It turned out to be just right. (19" might be necessary for a mildly lowered height when properly installed) One thing of note, when we had the front assembly ready for install, I had trouble getting the top camber bolt to go in. I just didn't fit. Near panic at already having removed half of my suspension, Nate, helpful friend and assistant, noticed that it wasn't off by very much, and that perhaps we could widen the hole just slightly. A Dremel was found and to my amazement, the tiny cylindrical sandpaper bit fit inside the hole with just enough clearance to move it around. Knowing that I needed to be consistent in the hole width and that aluminum isn't a very hard metal, I carefully ground back a bit at a time in slow circles till the bolt fit snug. Careful examination showed that it was possibly less than a millimeter of difference. Don't Panic.
|