|
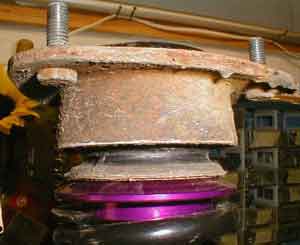
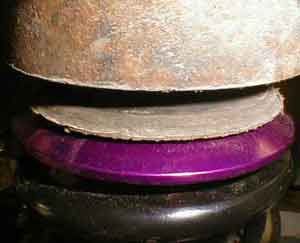
D2 Coilover Install By Dave Clements (4/13/01) (updates in italics) The rears came apart in the same manner, with a little work on the vise and appropriate safety taken. Since the rears don't turn, height adjustments are more difficult and may require disconnecting the bottom from the spindle, though I'm working that out. The assembly was a bit more tricky than the fronts, as the top mount for the rear is more compact and has no bearings. Assembling it in the same manner as the fronts lead to the inability to tighten it up. The problem was that the T bearing's smaller portion was sticking all the way through the mount and not allowing it to let the nut apply pressure on the mount. A bit of experimenting found that the only way it could be used was to invert it and install it on the top, allowing the bottom of the hat to be in direct contact with the top hat. I'm investigating as to whether this is the proper way to set it up, but it's working very well at this time. (it may be proper, but a washer might need to be installed between the top hat and mount, as on the front.) See Page 6 and 7 for updated install instructions for the rear
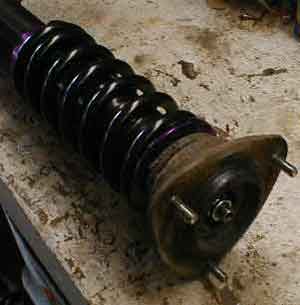
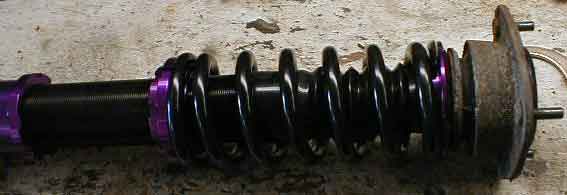
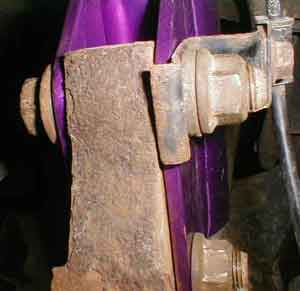
Since the rear assembly is taller than the front, we decided another two inches would be necessary, so we set it up the same as the front but with a 20" length. The problem with setting height on the rear is that adjustment can only be done with the wheel off, and since the assembly doesn't rotate, it might be necessary to remove the spindle from the bottom mount. 20" was perfect. All installed now, everything was ready for spring preloading. Problem was, I had no idea how much loading was needed to get a good ride height and spring characteristics. We decided for 7" from the bottom of the top hat to the bottom of the spring perch as a benchmark setting. This got a decent amount of compression into the spring, keeping it from walking under decompression while allowing for a compliant ride. After setting 7", we did notice that the overall length did increase ever so slightly, probably due to the tension of the spring on the shock. No problem, we set one and then the other in the same sequence on all four.
|